Assembling the Ultimate Mini-ITX Gaming System (2019)
Introduction
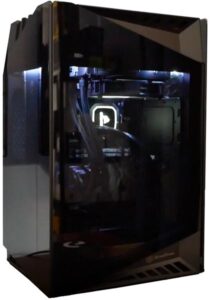
A lot of people have asked TBG to produce assembly videos for all the builds in our DIY PC Buyer’s Guides, and we’re striving to do so as often as possible, especially for our Small Form Factor systems, which are each completely unique, and require a bit more strategy than the standard tower desktop build. So we were so excited to be the very first review outlet in the U.S. to get our hands on SilverStone’s newest ITX case, the LD03. It’s been a long, long time since SilverStone has released an all-new high-end ITX case, and the LD03 builds on everything that SilverStone has incorporated into previous models, while adding features and design elements that have never been seen before in the ITX world. The LD03 is truly new from the ground up, which means it has the potential to redefine the small form factor gaming segment. And at 25 liters, it does indeed just make our cutoff for a true SFF design.
Because this is such an important new release, we rolled out this assembly guide as quickly as possible, as in a week after the case hit retail, literally. We hope you enjoy it!
Special thanks to SilverStone for providing us a sample of the SilverStone LD03 Glass Mini-ITX Case, SilverStone Technology SX800-LTI 800W, and SilverStone LS03 Addressable RGB Strips featured in this guide.
Test Setup
Here’s the system we built up in the LD03 chassis:
- CPU: AMD Ryzen 7 2700X
- Motherboard: Gigabyte B450 I Aorus Pro WiFi
- Video Card: EVGA GeForce GTX 1080 Ti Hybrid 11GB
- RAM: G.Skill 2x8GB Sniper X DDR4-3400
- Solid-State Drive #1: Samsung 970 Pro 1TB M.2
- Solid-State Drive #2: Samsung 860 Evo 500GB 2.5″
- Solid-State Drive #3: Crucial MX500 500GB 2.5″
- Power Supply: SilverStone Technology SX800-LTI 800W
- CPU Cooler: Corsair Hydro H60 AIO 120mm
- RGB Lighting: SilverStone LS03 Addressable RGB Strips
- OS: Microsoft Windows 10 Home
Obviously, as time goes by, the components we’ll actually recommend you use with the LD03 will change, but for the most part, the assembly process will not. The only major difference will be whether you use an Intel or AMD processor, because with the Intel socket, you’ll need to install the CPU cooler before mounting the motherboard in the chassis. With AMD, you’ll use the built-in mounts with most liquid coolers, which is a big advantage. That’s because the case does not have a cutout to get access to the back of the motherboard after installation.
Assembly
So, without further ado, here’s our detailed assembly video:
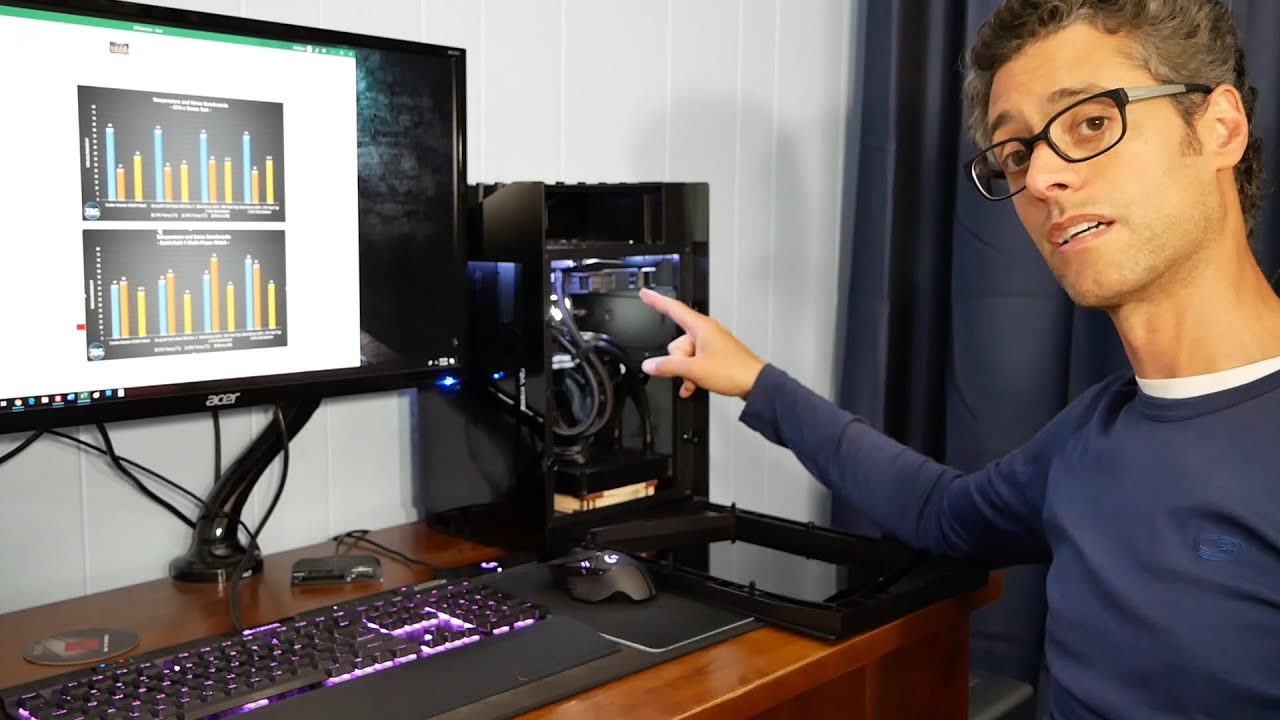
Now, we covered a lot in that video, but there are a few tips that just make sense to write out in words, so here it goes…
Number one, we did the testing for you so you don’t have to: the GPU radiator absolutely must go on top exhausting out, with the CPU radiator on the bottom drawing cool air in. If you do the opposite, the hot air from the GPU will cook your CPU. And no, you can’t set them both to exhaust, because you’ll create a vacuum in the chassis and end up with no airflow through your radiators.
Number two, there is a definite order you should follow in installing components, and it’s not what we did in the video, because you only learn after the fact where the pain points are. Take our advice follow these steps:
- Install 2.5″ drives – typically this is one of the last steps in a build, but because the motherboard will block some of the screw holes for the first 2.5″ mount, you need to mount it before anything else.
- Install CPU, RAM, and M.2 drives in your motherboard and then drop the board into the case. It’s just simpler that way than to install the components after the board is in the case. If using an Intel socket 1151 CPU, you must also attach your CPU cooler now, unfortunately, which is a big pain since you’ll now have a radiator hanging around that you can’t affix until later, but it’s required.
- Once the motherboard is in, install the power supply, which is done by first removing three tiny screws that hold the PSU bracket in place, then mounting the PSU to the bracket, and then re-installing the bracket with attached PSU in the case. Note that attempting to install the power supply before the motherboard will make it nearly impossible to install the motherboard, which needs clearance to be raised up into the I/O panel.
- Once the PSU is in, connect all cables to the motherboard. Skipping that step will leave you sad later on when you can’t access power ports on the motherboard. You might as well do the front panel connectors now too.
- With all cables attached to the motherboard, install your liquid-cooled GPU and attach its radiator to the top of the case, making sure to orient the fan so it blows through the radiator and out of the case (which means fan frame side up).
- Finally, install your CPU cooler and radiator. If you’re using an Intel CPU, attaching the CPU cooler actually has to be done at step #2, which is a huge pain, as we’ve noted. Sorry! You’ll still want to affix the radiator as the last step, however, otherwise you’ll prevent your PSU from being installed. And by the way, again make sure to orient your fan correctly, in this case right up against the bottom of the case, blowing up through the radiator.
Conclusion
While every Small Form Factor PC involves some sort of compromise, we think that the system profiled here, based on the SilverStone LD03 chassis, offers the best combination of traits for a truly high-end ITX PC. In addition to offering great aesthetics, the LD03 is very easy to work with; in fact, it’s the most builder-friendly SFF case we’ve ever tested. And while the glass panels do limit airflow somewhat, the case compensates for that with more than enough space and mounting points for dual 120mm liquid cooling radiators. For all these reasons, it’s our pick for the best ultra-high-end gaming chassis for 2019 and beyond (or until someone comes up with something better!).
The SilverStone LD03 Glass Mini-ITX Case is available for $159.99 shipped free from Amazon as of our publication date.